
Integrate Sentry Monitoring
Overview
You can configure a Sentry integration to send file transfer activities and device status changes for monitoring.
Once configured, whenever a selected event occurs—such as Transfer Started, Transfer Completed, Device Connected, or Device Disconnected—an event is sent to Sentry and categorized under the specified Environment.
The overall process consists of the following steps:
① Obtain the Sentry DSN → ② Configure the Integration in the Product
Prerequisites
Before you begin, verify the following requirements.
| Item | Description |
|---|---|
| Sentry Project | A Sentry project and permission to view its DSN. |
| Environment Name | Decide the environment name that will be used to categorize events (for example, production). |
| Network | The environment where the product is installed must be able to access the DSN ingest endpoint (for example, oXXX.ingest.sentry.io) over HTTPS (443). |
Obtain the Sentry DSN and Decide the Environment Name
To send events to Sentry, obtain the project's DSN and determine the Environment Name that will be associated with incoming events.
Step 1. Obtain the DSN
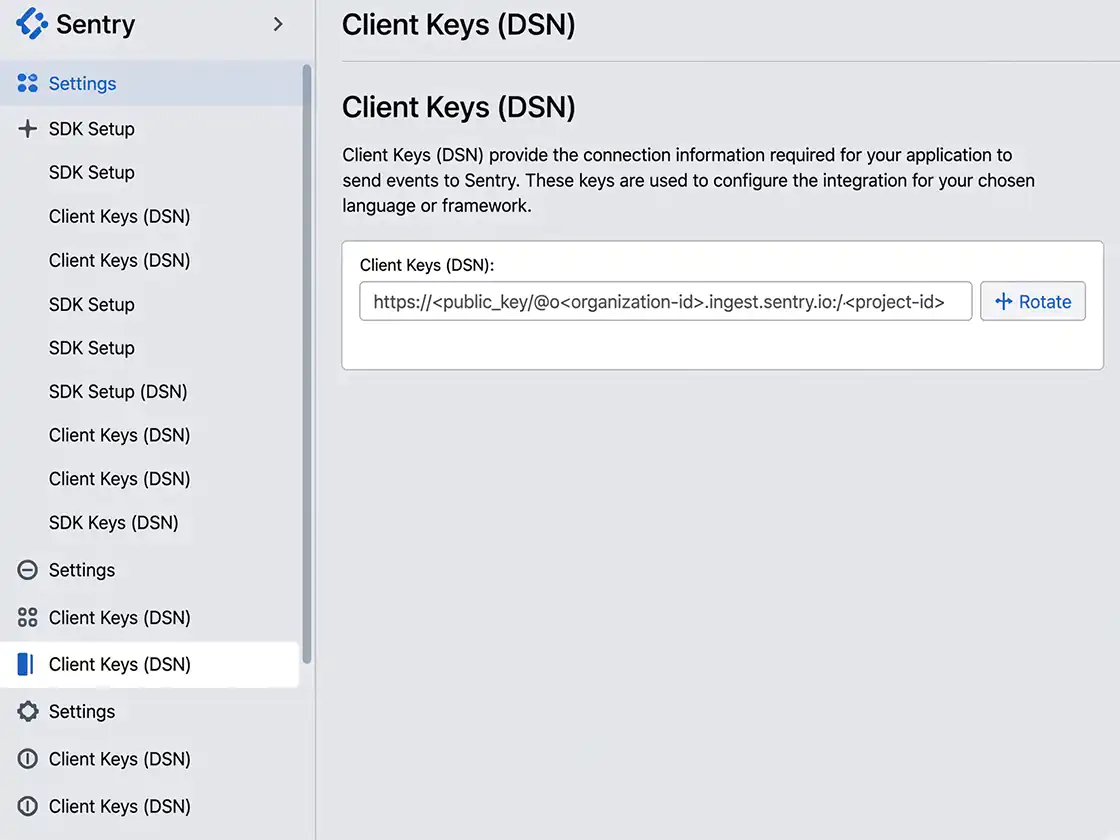
In Sentry, open the target project and navigate to:
Settings → SDK Setup → Client Keys (DSN)
Copy the DSN.
Example format:
Although the DSN is intended only for event ingestion, unnecessary events can be submitted if it is exposed publicly. If necessary, generate a new DSN using the Rotate function.
Step 2. Decide the Environment Name
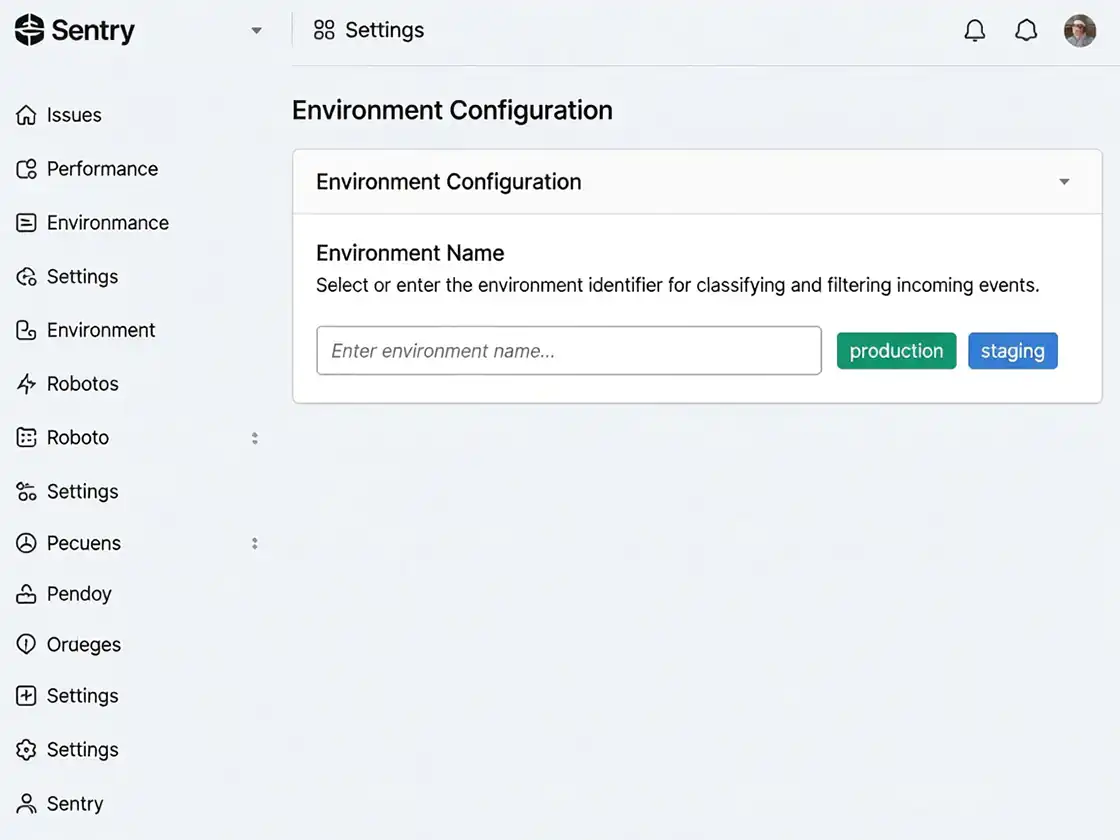
Choose the Environment Name that will be associated with incoming events.
Examples:
The environment does not need to be created in advance. It is automatically displayed in Sentry when events are received.
Verification
✔ The project DSN has been obtained.
✔ The Environment Name has been determined.
Configure the Sentry Integration
Enter the DSN and Environment Name into the product.
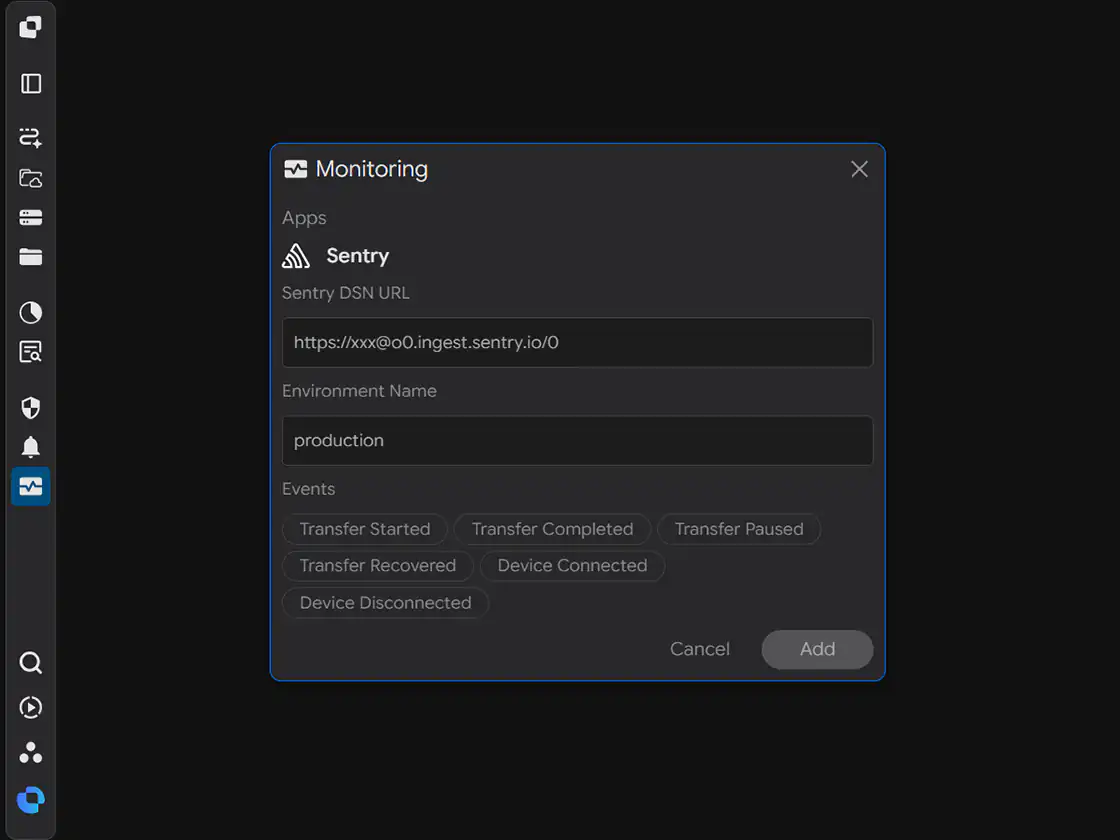
When you open the Monitoring configuration page, the following screen is displayed.
Step 1. Enter the Sentry DSN URL
Enter the Sentry DSN URL obtained in the "Obtain the Sentry DSN and Decide the Environment Name" section.
Step 2. Enter the Environment Name
Enter the Environment Name.
Example:
Step 3. Select Events
Select the events to monitor.
Multiple events can be selected. Events will be sent to Sentry only for the selected event types.
| Event | Trigger |
|---|---|
| Transfer Started | When a Transfer begins. |
| Transfer Completed | When a Transfer completes successfully. |
| Transfer Paused | When a Transfer is paused. |
| Transfer Recovered | When a Transfer automatically resumes after an interruption or failure. |
| Device Connected | When a device connects. |
| Device Disconnected | When a device disconnects. |
Step 4. Save the Configuration
After completing the configuration, click Add to save the integration.
Verification
✔ The Sentry DSN URL has been entered.
✔ The Environment Name has been entered.
✔ The monitoring events have been selected.
Verify the Integration
Verify that the integration is operating correctly.
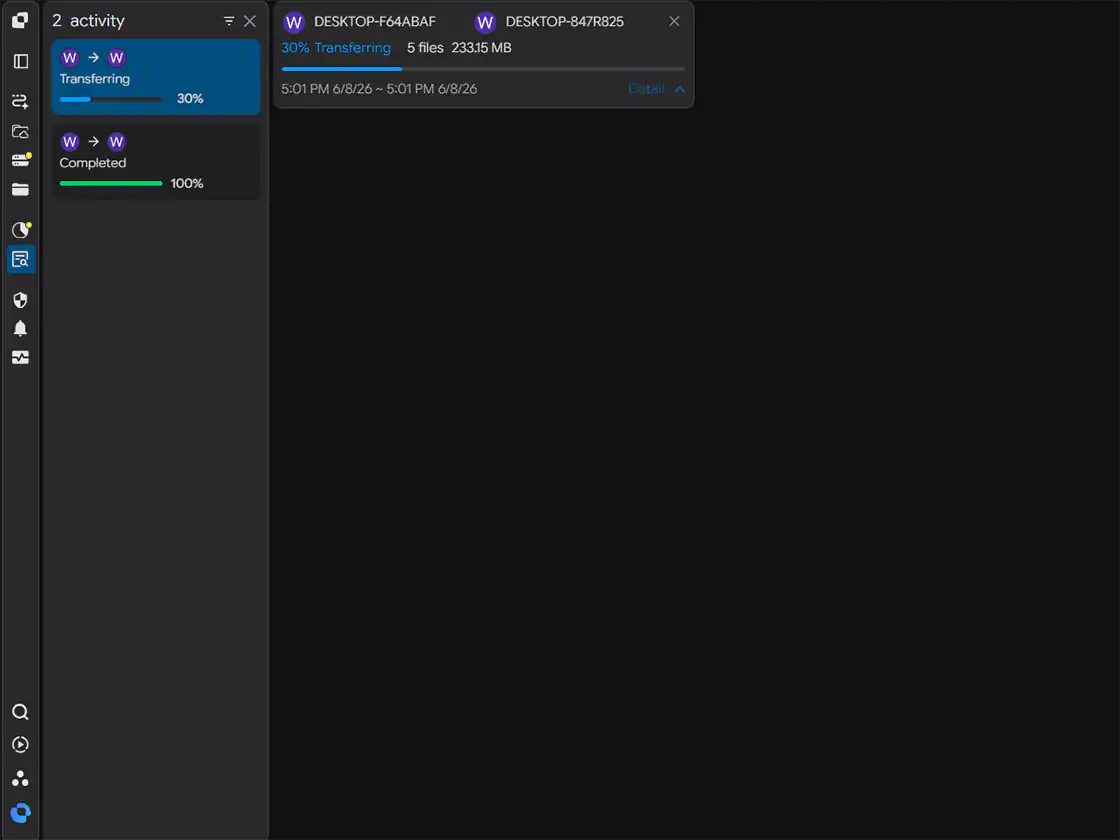
Step 1. Generate a Test Event
Start a Transfer or trigger one of the selected monitoring events.
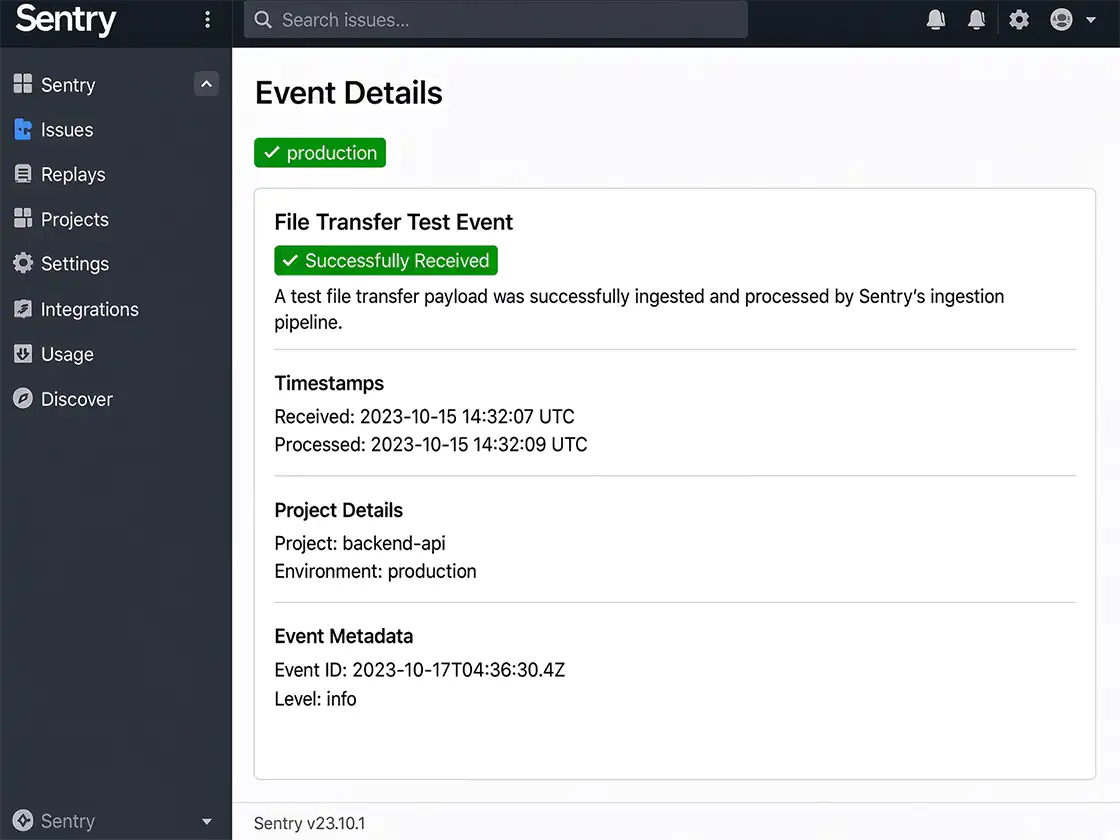
Step 2. Verify in Sentry
Verify that the event has been received by Sentry and is categorized under the specified Environment.
Verification
✔ The event has been received by Sentry.
✔ The event is displayed under the specified Environment.
Configuration Complete
After the configuration is saved, the integration becomes active.
From this point forward, whenever one of the selected events occurs, a corresponding event is automatically sent to Sentry.
Troubleshooting
| Issue | Verification |
|---|---|
| Events are not displayed | Verify that the Sentry DSN URL is correct and contains no leading or trailing spaces. |
| Project cannot be found | Verify that the DSN belongs to the correct project and has not been rotated or disabled. |
| Events are not categorized by Environment | Verify that the Environment Name has been entered correctly. |
| Some events are missing | Verify that the Client Keys rate limit has not been reached. |
| Connection failure in a restricted network | Verify that outbound HTTPS (443) access to the DSN ingest endpoint (for example, oXXX.ingest.sentry.io) is allowed by the firewall or proxy. |